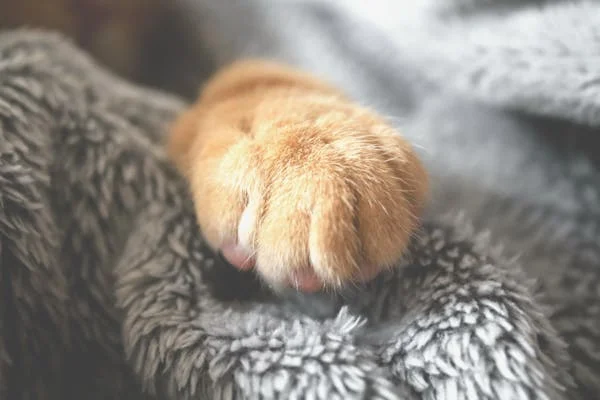
As a loving cat parent, you always want the best for your feline friend. Treating your cat to homemade goodies is not only healthier than store-bought options but also a great way to bond. Plus, it allows you to tailor treats to your cat’s preferences and dietary needs. Here’s how you can make simple, delicious, and nutritious cat treats at home that your kitty will adore!
Why Make Homemade Cat Treats?
- Healthier Ingredients: Commercial cat treats often contain additives, preservatives, and artificial flavors. By making them at home, you have full control over the ingredients.
- Allergy Management: If your cat has food allergies, you can create safe, allergen-free snacks.
- Tailored Taste: You know your cat’s taste best! Make treats with flavors and textures they love.
- Bonding Experience: Making treats can be a fun and rewarding way to spend time with your cat.
Things to Keep in Mind
Before diving into recipes, there are a few important things to remember:
- Limitations on Certain Foods: Some human foods are toxic to cats, like onions, garlic, chocolate, alcohol, and dairy products (for lactose-intolerant cats). Avoid these at all costs.
- Portion Control: Treats should make up only 10% of your cat’s daily caloric intake. Overfeeding treats can lead to obesity.
- Consult Your Vet: If your cat has any dietary issues or health conditions, consult your vet before introducing new ingredients.
Easy Homemade Cat Treat Recipes
Here are a few easy recipes to start with:
1. Tuna Cat Treats
Tuna is a classic cat favorite. These crunchy treats are perfect for cats who love the taste of fish.
Ingredients:
- 1 can of tuna in water (drained)
- 1 cup whole wheat flour
- 1 tablespoon dried catnip (optional)
- 1 egg
Instructions:
- Preheat your oven to 350°F (175°C).
- In a bowl, mash the drained tuna with a fork until smooth.
- Add the flour, catnip (if using), and egg to the tuna, and mix until a dough forms.
- Roll the dough out on a lightly floured surface to about ¼-inch thickness.
- Use a small cookie cutter or knife to cut the dough into bite-sized pieces.
- Place the pieces on a baking sheet lined with parchment paper.
- Bake for 10–12 minutes or until the treats are golden brown and firm.
- Let cool before offering to your cat.
Storage: Store in an airtight container in the fridge for up to a week.
2. Chicken and Catnip Treats
If your cat loves chicken, this recipe will be a hit. The added catnip gives an extra fun element!
Ingredients:
- ½ cup cooked chicken (shredded)
- 1 tablespoon dried catnip
- 1 egg
- ½ cup oat flour (or whole wheat flour)
Instructions:
- Preheat your oven to 350°F (175°C).
- Blend the cooked chicken in a food processor until finely chopped.
- In a bowl, combine the chicken, catnip, egg, and flour to form a dough.
- Roll the dough out on a flat surface and cut it into small squares or shapes.
- Place the treats on a baking sheet lined with parchment paper.
- Bake for about 10–12 minutes or until the treats are slightly browned and firm.
- Allow them to cool before feeding.
Storage: These can be refrigerated for up to a week or frozen for up to a month.
3. Salmon and Sweet Potato Bites
For a nutrient-packed treat, these salmon and sweet potato bites are perfect. Salmon provides omega-3s, while sweet potatoes add a touch of sweetness and fiber.
Ingredients:
- ½ cup cooked salmon (flaked)
- ¼ cup mashed sweet potato (cooked)
- 1 egg
- ¼ cup oat flour
Instructions:
- Preheat your oven to 350°F (175°C).
- In a bowl, combine the salmon, mashed sweet potato, egg, and flour until the mixture holds together.
- Form the dough into small balls or patties.
- Place them on a parchment-lined baking sheet.
- Bake for 12–15 minutes or until firm and golden.
- Let the treats cool before serving.
Storage: These can be stored in an airtight container in the refrigerator for up to 5 days.
4. Simple Catnip and Cheese Balls
These treats combine the irresistible aroma of cheese and the playful fun of catnip. Make sure to use a lactose-free cheese if your cat is lactose-intolerant.
Ingredients:
- ½ cup shredded cheddar cheese (or lactose-free cheese)
- 1 tablespoon dried catnip
- 1 egg
- ½ cup oat flour
Instructions:
- Preheat your oven to 350°F (175°C).
- In a mixing bowl, combine the cheese, catnip, egg, and flour until you get a firm dough.
- Roll the dough into small bite-sized balls.
- Place the balls on a parchment-lined baking sheet.
- Bake for 10–12 minutes until golden and firm.
- Cool before giving to your cat.
Storage: Keep these treats in the fridge for up to 1 week.
Tips for Homemade Cat Treats
- Experiment with Flavors: Cats can be finicky eaters. If your cat doesn’t like one recipe, try swapping out ingredients (like using turkey instead of chicken).
- Use Small Cookie Cutters: Since treats should be given in small amounts, using tiny cookie cutters helps ensure portion control.
- Freeze for Longevity: You can make larger batches of treats and freeze them. Just thaw them out as needed.
Conclusion
Making homemade cat treats is a rewarding way to pamper your pet with healthy, fresh snacks. Not only will you be able to control the quality of ingredients, but you’ll also enjoy knowing that your kitty is munching on treats made with love. Try these recipes, and see which ones become your cat’s favorite!
By following these simple steps and recipes, you’ll be able to provide your feline companion with wholesome and delicious treats they’ll enjoy while keeping them happy and healthy. Happy baking!

